What is Kombucha?
The ancient Chinese called it the “Immortal Health Elixir” It’s been around for more than 2,000 years and has a rich anecdotal history of health benefits like prevention for cancer, autoimmune conditions, arthritis, and other degenerative diseases.
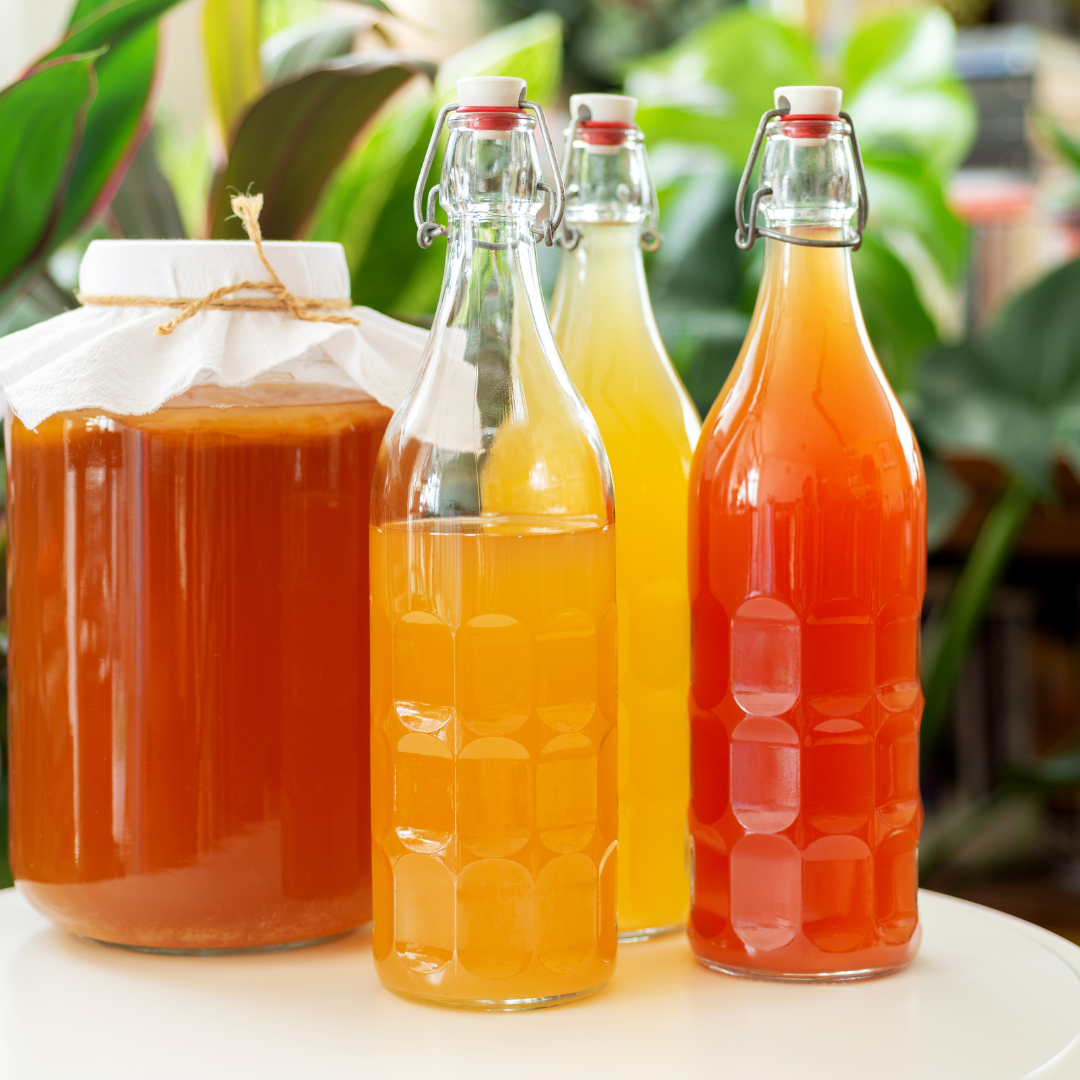
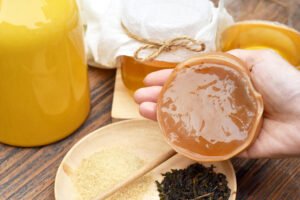
Made from sweetened tea that’s been fermented by a symbiotic colony of bacteria and yeast (a SCOBY, a.k.a. “mother” because of its ability to reproduce, or “mushroom” because of its appearance).
When brewed in a tea blend, the Scoby produces an array of healthy bacteria and yeast for your gut, which gives it the immune modulating and anti-inflammatory effects that are needed to fight many degenerative diseases.
Kombucha can be brewed for 1-4 weeks (1 week during warmer months and 4 weeks during colder mths) and then bottled. 
It is best to double ferment the Kombucha, so after bottling I will add flavouring (usually whatever I have in my garden e.g. ginger, turmeric, lemongrass, mint, pineapple, or even frozen berries). Once the flavouring is added, leave the bottles out of the fridge stored for about another week (second fermentation stage) while it continues fermenting and also builds up some fizz.
Home-brew versus shop bought Kombucha
There is a big difference in flavour between the home brewed Kombucha and shop bought Kombucha and this is because what you buy in the shop is usually a single fermented version which has been carbonated, unlike the traditional home-brew which is usually double fermented and allows the fizz to naturally build up as well as gaining a fuller fermentation.
If you have tried the store bought version and didn’t like it please don’t be put off and try some home brew and/or start making your own.
Getting Started
Making a 4 Lt batch
If you are making smaller or larger batches you will need to adjust the amounts of water, sugar, and tea accordingly.
You will need:
- A Scoby (also known as a mushroom or mother)
- 4 Lt glass jar, bowl or other glass container
- Saucepan or pot for boiling water
- Utensil for stirring (avoid wood)
- 4 Lt Filtered Water
- 2 cups of sugar of choice
- 4 tsp. of black or green tea (tea bags can be used too)
- Tea strainer if using loose tea
- Some starter tea (i.e. fermented tea from a previous batch, if you have none, do your first batch without it and then use this for your second batch)
- Jug
- Funnel (optional)
- Tea towel or cloth
- Elastic band
If you receive your Scoby in a plastic container pop it into a glass container with about 2 cups of starter tea, which has already been fermented, and the container should be covered with a tea towel and secured with an elastic band allowing it to breathe. If you do not secure the jar with an elastic band then ants will find their way in!!
Method
- Add the sugar and water to a large pot and bring to the boil (stirring so that the sugar doesn’t stick to the bottom).

- Once the sugar has dissolved, take the pot off the heat and add your loose tea or tea bags and allow steeping for 10 mins. (I use loose organic GREEN tea).
- Then strain the tea leaves off or remove your tea bags if using bags.
- Once the tea has completely cooled you can pour it into your glass container (which will currently have the Scoby and starter tea in it).
- Depending on the time of year let the Kombucha brew for 1-4 weeks. This time of year it can take 3-4 weeks but maybe longer depending on the size of your Scoby – mine is large approx. 5cm thick so mine brews faster. If you have a thin Scoby it can take another few weeks. The Scoby will grow bigger with each batch so your brewing times can be shorter once your Scoby gets bigger.
- I recommend taste testing your tea every week so that you can get an idea of how the flavour changes from week to week.
- Once the sweetness has gone but before it’s gone too sour, pour your Kombucha tea into bottles with an airtight lid. To do this I take the Scoby out of the jar and set aside in a separate bowl whilst I am pouring my tea into bottles using a jug and funnel.
- If you require more fizz and/or want to add flavourings (second ferment) simply add a tiny bit of fruit (ginger and pineapple are great flavours), during the bottling stage and secure the lid.
- Leave out of the fridge for about a week while it continues fermenting.
- Do a taste test and then if it’s ok you can put it into the fridge to slow the fermenting process right down and drink once it’s nice and cold.
You can leave the fruit in the bottle or strain it off.
The Kombucha doesn’t really expire and can last for months in the fridge but if left way too long it will just turn to vinegar, which is fine as you then have a nice home made vinegar that you can use in your cooking, etc.
Important notes
Brewing times will also depend on the temperature and also the size of your Scoby. The bigger the Scoby the faster it will ferment.
Do not touch your Scoby with dirty hands, instead either use rubber gloves or wash your hands with NON antibacterial soap and then rinse hands with vinegar, then it’s safe to touch your Scoby. Do not dry your hands with a towel and then touch the Scoby as you can transfer something nasty to your Scoby.
Do not allow metal to touch the Scoby.
Do not allow hot water to touch the Scoby.
Happy Brewing!